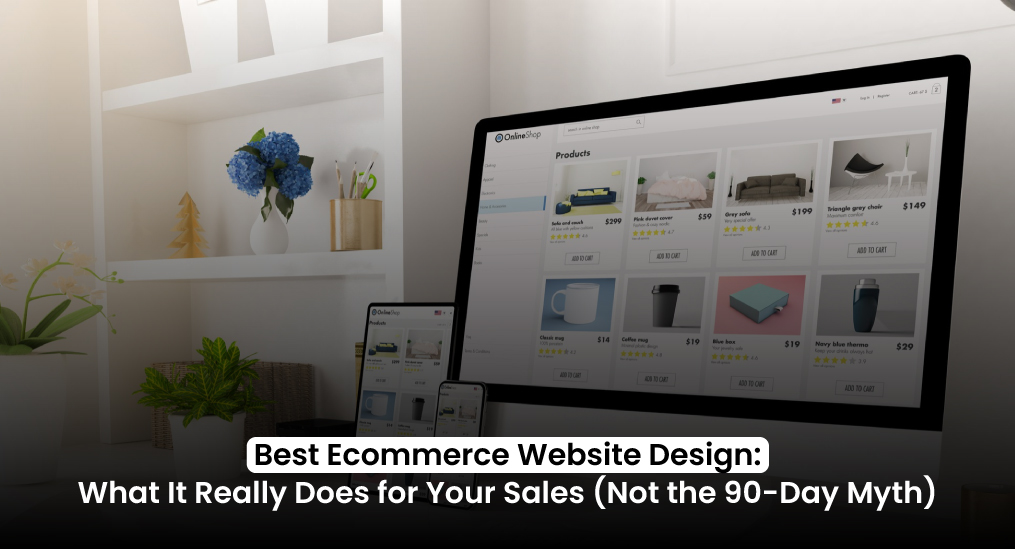

A messy shop layout works against you. It slows people down, makes them frustrated, and often pushes them straight to a competitor. Shoppers don’t have the patience to dig through clutter when they can get what they want somewhere else with a few clicks. That’s why knowing how to organize products in WooCommerce isn’t just about keeping things neat. It’s what helps your store sell.
Think about it.
Why do some shops feel polished and professional the second you land on them?
Why do certain products stand out while others get lost in the background?
And why does it sometimes feel like your best items are hidden instead of right up front where they belong?
If those questions sound familiar, you’re not alone. The good news is, cleaning up your store and making it feel effortless to browse is easier than it looks.
In this guide, we’ll walk you through WordPress WooCommerce how to move shop products, organize them into groups that make sense, and design a shopping experience that feels natural whether you’re managing ten products or a thousand.
Here’s what we’ll cover:
- How to reorder listings so your bestsellers get the spotlight
- How to set up categories and tags that feel logical to your customers
- Which plugins and settings can save time while making the whole experience smoother
Why Product Management is Key to a Successful WordPress WooCommerce Shop
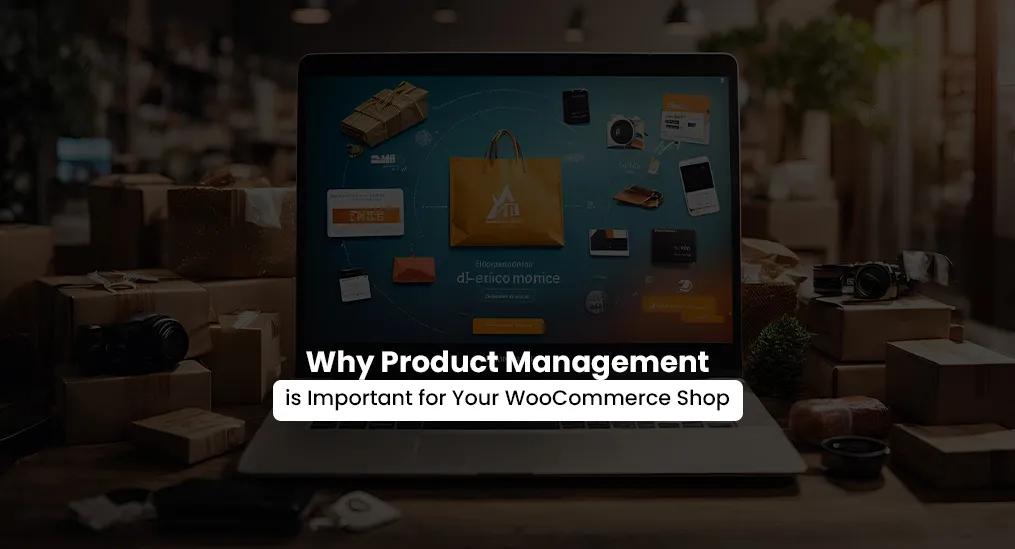
A cluttered shop doesn’t just look bad. It costs you sales. If people can’t find what they’re looking for, they leave. A clean, well-structured WooCommerce WordPress store makes shopping quick, simple, and pleasant. That’s what keeps buyers on your site instead of jumping to a competitor.
When your products are organized the right way, a few things happen:
- Customers find what they want without wasting time.
- Bestsellers and promotions get the spotlight they deserve.
- Browsing feels smooth and effortless.
When stores compare their options, the Shopify vs WooCommerce debate often comes up, and how you organize products is usually what tips the scale. But it doesn’t stop there. Strong WooCommerce product strategy development also helps your SEO. Clear categories, smart tags, and well-written titles not only guide shoppers but also push your products higher in search results. More visibility means more people landing on your store.
Ask yourself: do you want a shop that feels like a scavenger hunt, or one where buyers instantly spot what they came for? With the right product management, the answer is obvious.
Tighten up your categories. Cut the clutter. Once your store flows better, you’ll see the difference, not just in how customers talk about your shop but in the sales numbers too.
Step 1: Evaluate Your Products in WooCommerce Shop Layout

Before moving things around, take a moment to really look at how your store feels right now. A quick review will tell you what’s working and what’s getting in the way.
Start with the obvious: are your bestsellers easy to spot, or are they hidden halfway down the page where nobody sees them? If they’re buried, you’re losing sales.
Next, look at how related products sit together. Do accessories and add-ons feel connected, or are they scattered across different sections? Shoppers expect those items to live side by side.
And don’t forget the mobile experience. Pull up your shop on a phone. Then on a tablet. Then on a laptop. If any of those layouts feel clunky or awkward, that’s a problem worth fixing fast.
The answers you find here will show you exactly where to start cleaning things up. For small business owners, this kind of cleanup is often the first step toward bigger self employment ideas that can actually turn into a reliable income.
How to Manually Sort Products in WooCommerce:
Log into your WordPress dashboard, open WooCommerce, and head to the Products section. Switch to the Sorting tab, then drag and drop items until your bestsellers and seasonal picks land right at the top.
After that, take a look at your categories. Each product needs to sit in a clear, relevant group. Too many overlapping categories only make the shop harder to navigate, so keep things straightforward.
Finally, test the layout across devices. Browse your store on a phone, a tablet, and a laptop. If something feels clunky or out of place on any of them, that’s your cue to fix it.
Step 2: Rearrange Your Products in WooCommerce Listings

The way your products appear isn’t random. It directly shapes how people shop. Put your bestsellers, seasonal favourites, or high-margin items at the top, and you instantly guide buyers toward what matters most.
This simple move makes the store easier to browse, shines a light on the products you actually want to sell, and even gives your SEO a lift. It also opens the door to digital marketing for ecommerce stores, since a well-ordered shop is easier to promote and easier for customers to trust. That’s why learning WooCommerce reorder products is a step worth taking.
How to Reorder Your Products (5 Quick Steps)
- Log into your WordPress dashboard and open WooCommerce.
- Click on Products to see your full list.
- Switch to Sorting view and drag items into the order you want.
- For more control, open a product and hit Edit.
- In the Advanced tab, use the Menu Order field to set the exact position. Lower numbers show up higher on the page.
That’s how straightforward reorder products WooCommerce can be when you know where to look.
Step 3: Categorize and Tag Products Effectively
If your shop feels cluttered, the problem usually comes down to poor categories and tags. When these are set up the right way, customers move through your store with ease, and your SEO gets a boost at the same time.
Think about how people actually shop:
- By type: electronics, clothing, accessories
- By use: workout gear, office supplies, home essentials
- By season: summer wear, holiday décor, winter clothing
The key is to group products in a way that feels natural. Keep categories broad and simple so they act like signposts. Then use tags for extra detail, but don’t overdo it. Too many tags only add noise. If you’re just starting out, organizing tags feels a lot like learning how to design a website using WordPress, straightforward once you know the basics, but messy if you skip the groundwork.
Tutorial: How to Create and Optimize Categories
- Open your WordPress dashboard and go to Products > Categories.
- Click Add New Category and give it a straightforward name, like Winter Apparel or Kitchen Essentials.
- Write a short description that uses natural keywords, for example: “Shop our cozy winter clothing collection.”
- Then, when you’re editing a product, simply tick the box for the category it belongs to.
For Tagging Products
Tags make it easier for shoppers to filter and find what they want. Use keywords people actually search for, like “organic,” “vegan,” or “sale.” Keep it simple with three to five solid tags per product.
This step also ties into learning how to set up product categories, tags, and attributes in WooCommerce. When it’s done well, both your customers and search engines win. Browsing feels smoother, and your products stand a better chance of showing up in search results.
One more thing: categories and tags aren’t just about keeping the shop neat. They carry SEO value. Clear categories improve your rankings, and tags make your internal search more useful. The same logic applies when choosing between website templates vs custom design, where structure and clarity often decide how well users engage.
If you want to experiment, you can even move WooCommerce category description to the bottom. That way, the products stay front and center for customers, while your SEO text still lives on the page where search engines can see it.
Step 4: Customize Your Products in WooCommerce Layout
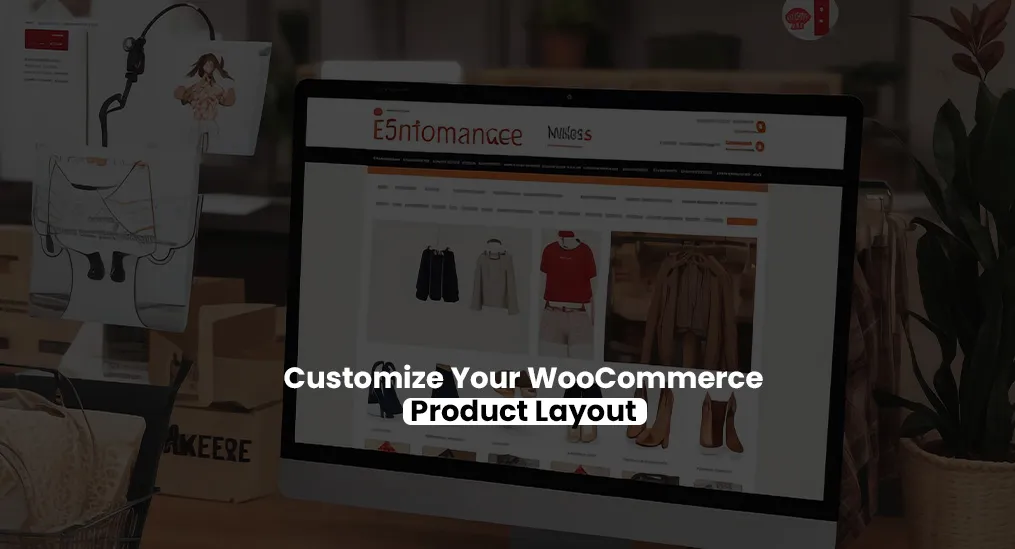
The way your shop looks has a direct impact on how people shop. If the layout feels messy or confusing, visitors leave. If it feels clean, simple, and easy on the eyes, they stick around, browse longer, and often buy more.
Ask yourself: would you actually enjoy scrolling through your own store? Could you find what you wanted right away? A thoughtful layout makes the experience smooth and memorable.
When your layout works, a few things happen:
- Customers stay engaged instead of frustrated.
- Bestsellers and promotions stand out naturally.
- People spend more time browsing, which usually means more sales.
How to Customize Your Layout
Start with your product grid. Adjust the rows and columns until the page feels balanced. A 3×3 grid works well for most stores. Hide out-of-stock items so they don’t get in the way.
Next, pick a flexible theme. Look for one built for WooCommerce, like Astra or Flatsome. Both give you drag-and-drop options to arrange blocks and grids without hassle.
If you want more control, add plugins. Create custom sections for featured products, sale items, or categories. Then use the WordPress customizer to tweak colors, fonts, and layouts so the design feels consistent with your brand.
Pro tip: pay attention to visual hierarchy. Large images and banners naturally pull the eye. Put “New Arrivals” or “Best Deals” at the top so they grab attention right away.
Your layout is the first impression of your WordPress WooCommerce shop. Keep it clean. Keep it clear. Make it count. This is also why many brands hire a web design agency USA based, since the right layout and navigation can make or break first impressions.
Step 5: Leverage Plugins for WooCommerce Shop Organization
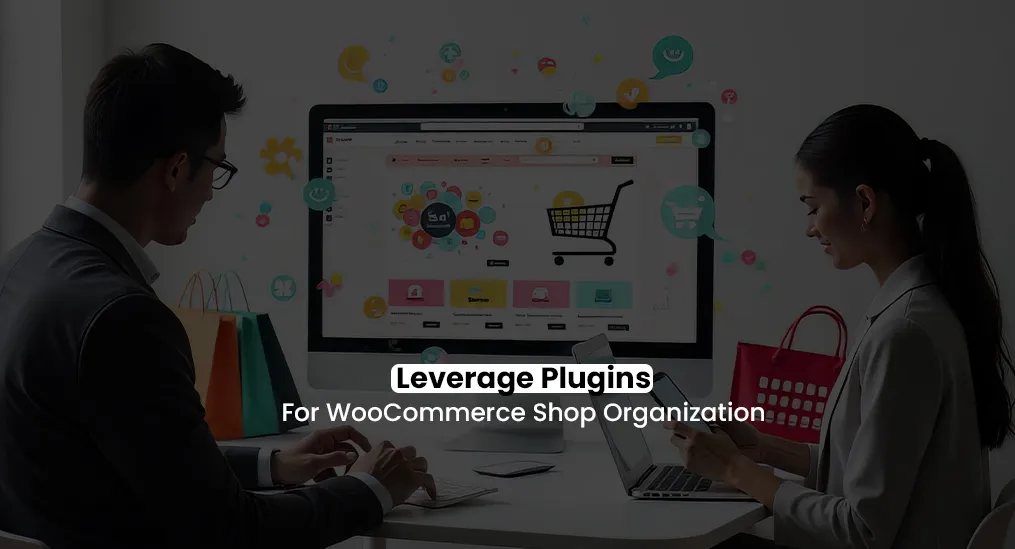
Manual tweaks work fine when you’re running a small store. But as soon as your inventory grows, doing everything by hand quickly turns into a headache. That’s where plugins come in.
With the right tools, you can:
- Help customers find products faster
- Keep your shop organized and easy to navigate
- Boost visibility with built-in SEO features
This is where smart choices matter more than endless manual fixes. Plugins free up your time so you can focus on growing the business instead of constantly managing the basics. Some even tie directly into Google Analytics consulting services, helping you track what works and where customers drop off.
Top Plugins for Shop Organization
- Product Filter by WooBeWoo
Nobody wants to scroll forever. This plugin gives shoppers filters for price, category, and tags so they can zero in on what they want fast. - Advanced WooCommerce Product Table
If you’re dealing with a large inventory, this plugin lays everything out in a clean, scannable table. It’s especially useful for B2B buyers or customers who prefer bulk shopping. - Yoast WooCommerce SEO
Being organized is great, but being found is just as important. Yoast helps you optimize product pages so they rank higher in search and look better when people see them in results. For a bigger picture, many store owners also look into ecommerce website design services that combine SEO, layout, and product management into one package.
How to Install and Configure a Plugin
Let’s take WooBeWoo as an example.
- Open your dashboard and go to Plugins > Add New.
- Search for “Product Filter by WooBeWoo,” install it, and activate it.
- Head to WooBeWoo > Product Filter and create a filter. Choose the attributes you want, like categories, tags, or price ranges.
- Use the drag-and-drop editor to shape the filter layout so it looks and feels right for your store.
- Copy the shortcode and drop it into product pages, sidebars, or anywhere you want the filter to appear.
For the best results, pair WooBeWoo with the Product Table plugin for easier browsing, and add Yoast SEO to make sure your shop gets seen.
The right plugins do more than save you time. They make the shopping experience smoother, which almost always leads to more sales. This kind of integration is a core part of the Koretechx Kinetic approach, where design and usability meet performance.
Step 6: Optimize for WooCommerce SEO
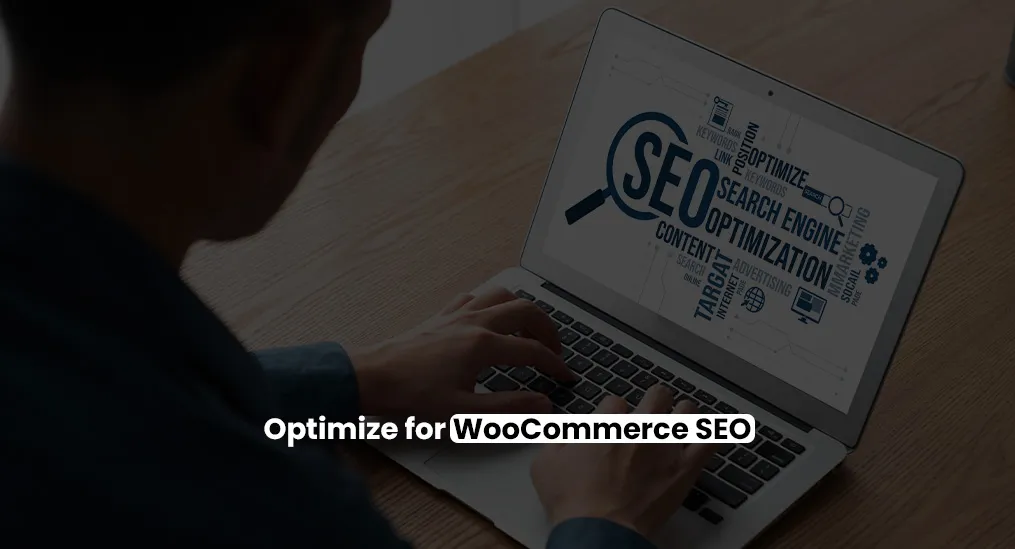
You’ve organized your shop, cleaned up the layout, and added the right plugins. Now the question is simple: can people actually find you online?
When someone searches for a product, will your store show up or get lost under a pile of competitors? That’s where SEO comes in. It puts your shop in front of the right people at the right time.
Done well, SEO will:
- Bring more organic traffic directly to your store
- Help you show up for keywords that actually drive sales
- Make your site easier to navigate, which improves the shopping experience for everyone
How to Optimize Your Products for SEO
- Add keyword-rich descriptions
A strong product description does more than explain the item. It naturally includes the words your customers type into search.
Instead of:
“A great coffee mug for daily use.”
Try:
“This durable coffee mug is built for everyday use and is perfect for anyone who wants to add stylish, practical accessories to their kitchen.”
- Add alt text to your images
Search engines can’t read images, but they can read the text you add to them. In your dashboard, open the Media Library, click an image, and add a short description in the Alt Text field, such as: “White ceramic coffee mug with a sleek, modern design.” - Write meta descriptions that sell
Your meta description is the short snippet under your link in Google. Don’t just describe the product. Give people a reason to click.
Instead of:
“Explore our range of coffee mugs in various styles and colors.”
Try:
“Discover a coffee mug that matches your style. Durable, sleek, and designed for everyday use.”
- Build internal links
Connect products and pages so the whole shop feels seamless. Link featured products to categories, pair a mug with a matching coaster set, or tie products to blog posts and guides.
Extra SEO tips:
- Use plugins like Yoast or Rank Math to take care of technical tasks.
- Keep your URLs short and clear (example: com/ceramic-mug instead of yoursite.com/product12345).
- Speed up your site by compressing images and using a caching plugin like WP Rocket.
And remember, SEO doesn’t work alone. It pairs well with paid strategies like WooCommerce PPC, helping you reach customers through both organic search and targeted ads. Businesses that invest in premium web design services alongside SEO often see even stronger results, since design and structure directly impact user experience.
Follow these steps and you’ll have a WooCommerce shop that feels organized, simple to use, and worth returning to.
The smartest way to begin is with a quick audit. Look at your categories, layout, and product order. Find what feels messy and clean it up.
Starting is often the hardest part, but it’s also the moment that changes everything. Take that step and turn your store into a polished marketplace your customers will actually enjoy.
And if you’re new and still wondering what is WooCommerce, here’s the short answer: it’s more than just a plugin. It’s the backbone behind thousands of online shops. Learning how to organize products in WooCommerce from the very beginning gives you an advantage most store owners never take the time to build.