
Understanding UX Design Optimization

UX design optimization focuses on enhancing the user experience of a website or app to guide users toward specific actions. This could mean making it easier for visitors to complete a purchase, sign up for a service, or fill out a form. An optimized UX, combined with efforts to speed up website performance, helps ensure that every interaction is enjoyable, efficient, and engaging.
The key elements that shape a great user experience include:
- Easy Navigation: Users should be able to find what they need without confusion.
- Visual Appeal: A well-designed interface captures attention and builds trust.
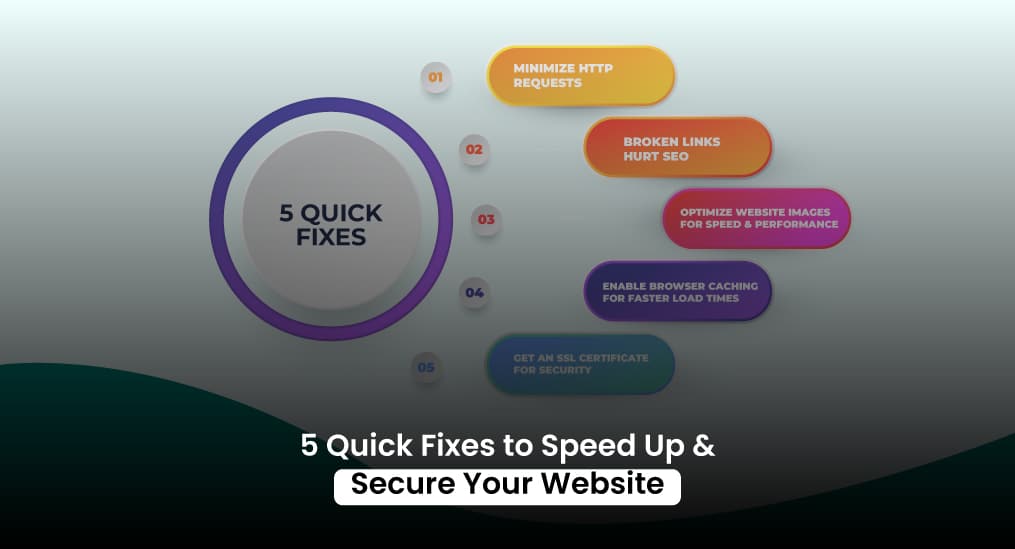
- Fast Load Times: Quick pages keep users engaged and reduce bounce rates.
- Clear Calls-to-Action (CTAs): Simple, compelling prompts encourage users to take the next step.
By carefully refining these aspects, you can create a user-friendly experience that leads to better engagement, happier users, and higher conversion rates.
Why UX Design Optimization is Essential

The connection between a great user experience (UX) and higher conversion rates is undeniable. When users encounter poor usability, slow loading times, or confusing layouts, they’re more likely to leave—and your potential conversions leave with them.
For instance, research shows that faster load times significantly enhance the user experience.
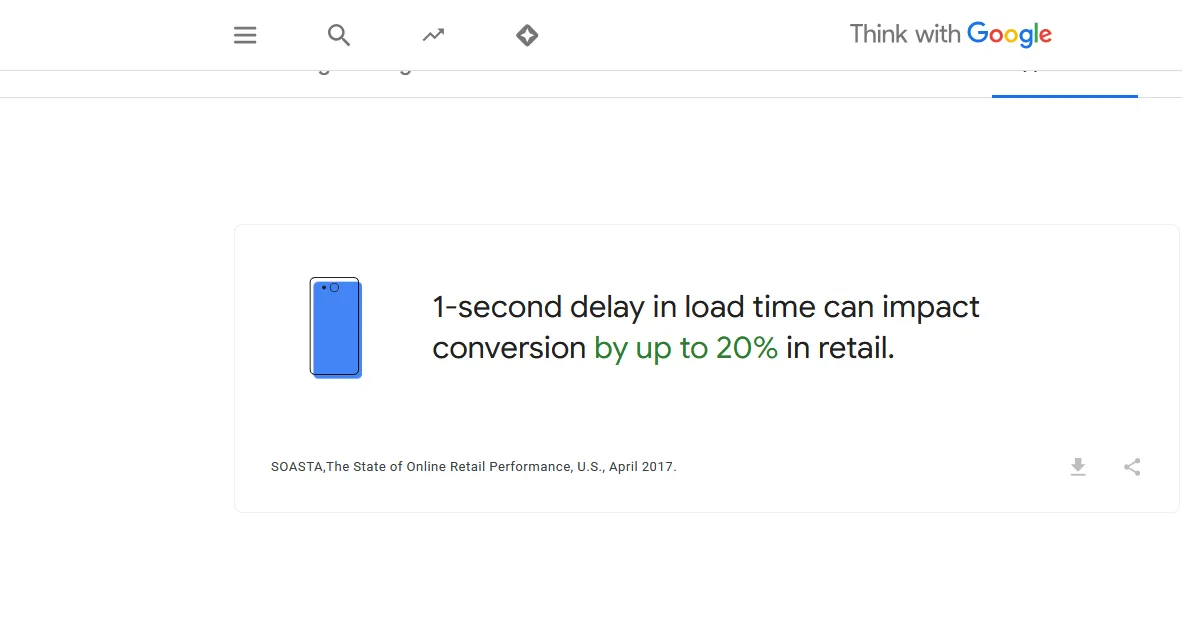
A study by Google found that even a one-second delay in page load time can lower conversion rates, especially as mobile users expect fast and seamless navigation. This highlights the critical importance of optimizing your mobile UX design.
An optimized UX also builds trust and credibility. When users easily find the information they need, interact smoothly with your site, and accomplish their goals without frustration, they’re more likely to trust your brand and return in the future.
In short, UX design optimization is a must-have if you want to keep visitors engaged, increase conversions, and build long-term loyalty.
Strategies for UX Design Optimization

1. Focus on User-Centric Design
The foundation of effective UX optimization lies in knowing your audience. Conduct user research to understand their preferences, pain points, and behaviors.
Tools like surveys, heatmaps, and usability tests can provide valuable insights into how users interact with your site.
By aligning your design with user expectations, you create a more intuitive experience that simplifies navigation and helps visitors achieve their goals with ease.
2. Streamline Navigation
Clear, intuitive navigation is key to a positive website user experience. Simplify your menus by using a logical structure, limiting the number of options, and providing straightforward labels. Adding a search bar also makes it easier for visitors to quickly find what they need, ensuring a seamless journey through your site.
3. Optimize Landing Pages For Speed Up Website
Landing pages are often the first thing potential customers see, so optimizing them is crucial for driving conversions.
Key tips include:
- Crafting attention-grabbing headlines.
- Using eye-catching images or videos that reinforce your message.
- Highlighting CTAs with bold colors and compelling text.
- Keeping the layout clean and free of unnecessary distractions.
4. Prioritize Mobile-Friendly UX Design
With more users relying on smartphones, optimizing for mobile is essential. Focus on creating responsive layouts, touch-friendly interfaces, and fast-loading pages to ensure a smooth mobile experience.
Key mobile UX tips:
- Use large, easily tappable buttons and readable fonts.
- Design for one-handed navigation by keeping key elements within easy reach.
- Keep the interface clean and simple to enhance readability on smaller screens.
By following these best practices, you’ll deliver a seamless and enjoyable experience for mobile users.
5. Enhance Page Speed
Speed up website times create a better user experience, keeping visitors engaged and reducing bounce rates. Even small delays can frustrate users and cause them to leave, so improving page Speed Up Website is a top priority.
Effective page Speed Up Website optimizations include:
- Compressing images and media to load faster.
- Using a content delivery network (CDN) for efficient resource distribution.
- Minimizing heavy scripts and unnecessary plugins.
By prioritizing Speed Up Website, you’ll deliver a smooth experience that keeps users on your site and helps your business succeed.
6. Apply Best Practices for UX
Great UX design starts with tried-and-true principles that make custom design websites and apps intuitive, accessible, and engaging. By focusing on usability and consistency, you can create an experience that keeps users satisfied and coming back.
Key UX best practices include:
- Consistency: Use uniform fonts, colors, and layouts across all pages.
- Accessibility: Ensure the site is easy to navigate for everyone, including individuals with disabilities.
- User Feedback: Provide clear feedback, such as confirming actions or highlighting errors.
By following these guidelines, you’ll design a user-friendly interface that meets expectations and supports your business goals.
7. Use Data to Guide Decisions
Leveraging analytics is essential for improving UX design. Tools like Google Analytics, Hotjar, and Crazy Egg help you understand user behavior, highlighting where visitors leave or spend the most time.
By analyzing this data, you can pinpoint problem areas and make targeted improvements with UX optimization. For example, if users often abandon the checkout page, review the process for any unnecessary steps or confusing elements. Data-driven decisions ensure your changes have a real impact on user experience.
8. Test Speed Up Website and Retest
Optimization is an ongoing process. Regular A/B testing allows you to compare different versions of your website’s features or elements to find what works best.
Focus your tests on areas like:
- CTA Placements: See which positions drive more clicks.
- Button Colors: Find out which designs encourage action.
- Headlines and Copy: Test variations to see what resonates with your audience.
Each test provides insights into user behavior, enabling you to continuously refine and improve your design for maximum effectiveness.
Final Thoughts
Improving UX design for higher conversion rates is a continual process that involves understanding user needs, ongoing testing, and a dedication to refining your approach. When done well, it creates experiences that increase engagement and drive conversions.
Ultimately, UX design optimization not only speed up website performance but also fosters stronger connections with users, ensuring long-term success.
Koretechx offers tailored digital solutions to enhance user experiences and create meaningful interactions. With their expertise, your business can achieve higher conversions and thrive in today’s competitive digital landscape.